Hardness Testing Errors: 12 Common Mistakes and How to Avoid Them
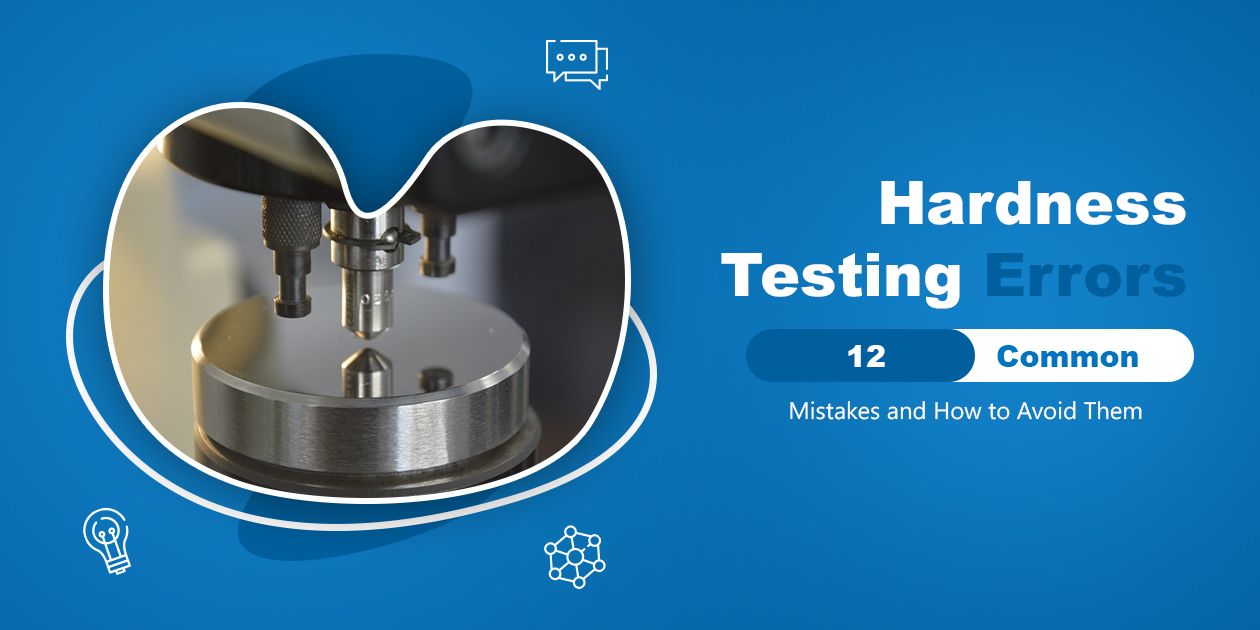
Hardness testing looks simple. You press an indenter into a part and read a number. Yet hardness testing errors are among the most common reasons a lot is rejected, a material is questioned, or two labs disagree.
Here is the good news. Most errors are not caused by a faulty machine. They come from the wrong method, a poor specimen, a missed condition, or a rushed reading. Each one can be prevented.
At Bareiss, we have built hardness testers since 1954, including Shore and IRHD durometers for rubber and plastics. This guide outlines 12 common mistakes, mainly in rubber and plastics testing, and gives the fastest way to fix each one.
Why Hardness Testing Errors Cost More Than You Think
A wrong hardness value rarely stays small. It can pass a bad batch or fail a good one. It can trigger a rejected shipment or a long dispute with a customer.
Many teams react by recalibrating the tester first. That is often the wrong move. A method that does not fit the material is a more common cause than a faulty machine, and recalibration cannot fix a method that was misapplied.
A better habit is to work through the checklist below before you touch the instrument.
12 Hardness Testing Errors at a Glance
| # | Error | What you will see | Fast fix |
| 1 | Overdue or missing calibration | Drift, failed audits | Calibrate yearly; verify with reference blocks |
| 2 | Wrong test method or scale | Values that do not match the spec | Match method and scale to the material |
| 3 | Tilted or unsteady durometer | Different values on every try | Hold perpendicular; use a test stand |
| 4 | Wrong reading time | Creeping values on rubber | Read at the time the standard specifies |
| 5 | Uncontrolled temperature | Seasonal shifts, lab-to-lab gaps | Condition specimens before testing |
| 6 | Specimen too thin or glued from layers | Soft or noisy readings | Use a single specimen at least 6 mm thick |
| 7 | Indents too close to edges or each other | Unreliable, distorted values | Keep 12 mm from edges and 6 mm between readings |
| 8 | Curved parts, O-rings, and foam | Unstable or meaningless readings | Use the method built for the geometry or material |
| 9 | Dirty surface or worn indenter | Scatter between readings | Clean, inspect, and verify on a reference block |
| 10 | Load too high for case depth (metals) | Readings lower than expected | Use a lighter load or microhardness |
| 11 | Metal sample too thin (metals) | Soft or noisy readings | Follow minimum thickness rules |
| 12 | Operator and data-entry mistakes | Two people, two answers | Train, automate, and record automatically |
Hardness Tester Calibration and Verification Errors
Calibration is the foundation of every reading. Skip it, and every other effort is built on sand.

Error 1: Overdue or incomplete calibration
Our recommendation as the manufacturer is annual calibration. The right interval also depends on your standard, your internal quality rules, and how often you test. Between calibrations, check the tester with reference blocks. Blocks verify the overall reading, including spring force and indenter geometry. Control rings check the measuring path (indentation depth) separately.
Calibration quality matters too. In 1996, Bareiss became the first accredited calibration laboratory for Shore and IRHD in Germany. We recommend ISO 17025-accredited calibration so your certificate stands up in any audit.
A related trap is the wrong test block. Test blocks are certified only at the forces and scales they were calibrated for. A block certified on one scale cannot verify a tester set up for another, and converting between scales gives unreliable values, especially at lighter loads.
Quick fix: Keep a calibration log, verify before each shift or batch, and use blocks that match your scale and test force.
Choosing the Wrong Method or Scale
Error 2: The method does not fit the material
Each method has a job. For rubber and plastics, Shore A covers soft materials and Shore D covers harder ones. IRHD (ISO 48-2) uses a small spherical indenter for fine rubber work and for small or thin parts. For metals, Rockwell suits heat-treated and case-hardened material in heavier sections, while microhardness handles very small parts and thin layers.
Shore D uses a sharper indenter and a higher spring force than Shore A, so the two scales are not interchangeable. You cannot convert a Shore A value to Shore D with a simple formula, so report the scale with every result. A Shore A durometer on a rigid plastic, or a Shore D on a soft elastomer, gives a number that is readable but practically meaningless.
IRHD is a different method altogether. It measures the depth of a small spherical indenter and follows its own specimen and test-method rules in ISO 48-2. Shore durometer testing follows ISO 48-4 or ASTM D2240. Do not compare an IRHD value directly with a Shore A value, and do not mix methods within one specification.
Quick fix: Name the standard, method, and scale in the specification, and check that every lab uses the same ones.
Common Shore Durometer Errors
Rubber and plastics bring their own rules. Soft materials move under load, so small habits change the number.
Error 3: Tilting or moving the durometer
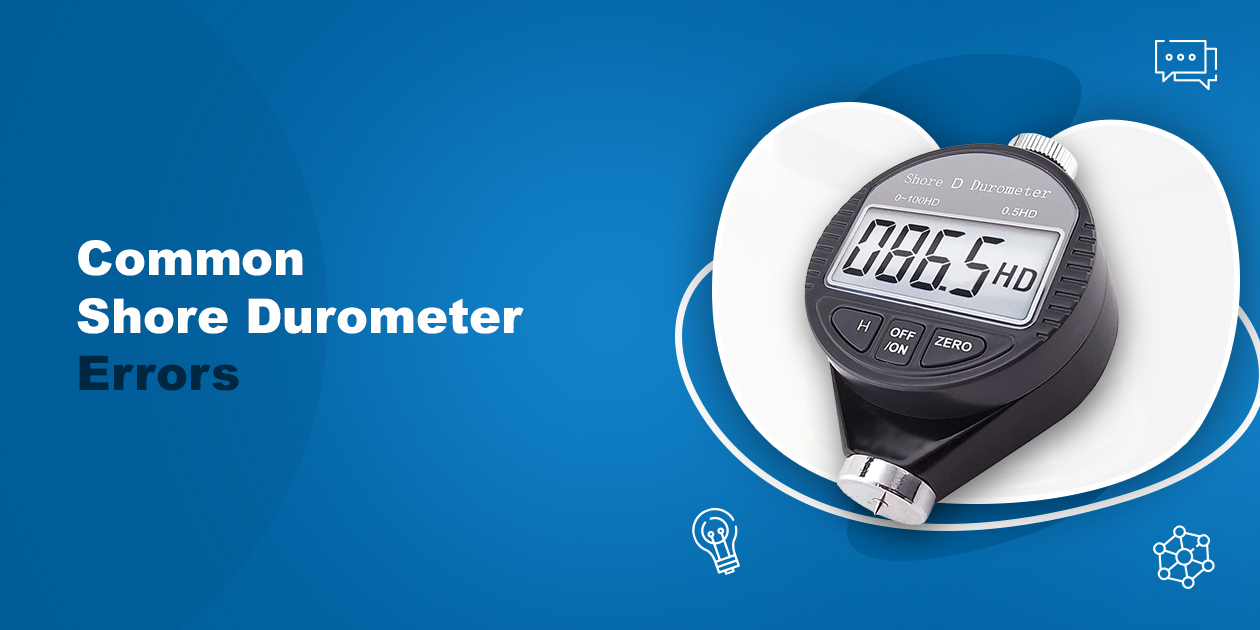
The presser foot must sit parallel to the specimen. Tilt it, and the reading becomes unreliable. If you use a hand-held durometer on a test stand, the tester must be aligned perpendicular to the table. A stand also removes operator pressure from the equation.
Error 4: The wrong reading time
Rubber relaxes under load, so the displayed value creeps down. The standard or the customer defines when to read, often within one second of firm contact. Read at that time, every time, and record it. Two labs reading at one second and at fifteen seconds will never agree.
Error 5: Uncontrolled temperature
Rubber hardness changes with temperature. A cold specimen reads harder and a warm one reads softer. Condition specimens at about 23 °C and 50% relative humidity before testing, and give them enough time to reach that temperature all the way through. Test in the same conditions every time and record them with the result.
Error 6: Specimens that are too thin or glued from layers
Use a single specimen at least 6 mm thick. A thinner piece lets the hard surface under it influence the reading. Stack thin pieces only when you cannot get one piece, and never glue layers together, because the glue line and the gaps between layers change how the material compresses. Place the specimen on a hard, flat, horizontal surface.
Error 7: Indents too close to edges or to each other
ASTM D2240 sets two spacing rules, and both matter. Keep every reading at least 12 mm from any edge of the specimen, and keep readings at least 6 mm apart from each other. Close to an edge, the material cannot support the indenter. Close to a previous reading, the rubber is still deformed. Check the current edition of the standard for exact values.
| Shore durometer check | What to confirm |
| Scale | Shore A for soft rubber; Shore D for harder, rigid materials |
| Specimen thickness | At least 6 mm unless proven equivalent |
| Distance from edge | At least 12 mm |
| Distance between readings | At least 6 mm |
| Surface | Flat, clean, on a hard horizontal base |
| Instrument position | Vertical, presser foot parallel to the specimen |
| Conditions | Conditioned at about 23 °C and 50% RH; reading time recorded |
Error 8: Curved parts, O-rings, and foam
Geometry and material structure create some of the most common rubber testing errors.
Curved surfaces:
A durometer needs a flat surface under the presser foot. On a convex or concave part, the foot cannot sit flat and the reading drifts. Our digi test II automatic hardness tester detects the surface automatically, so it can test convex and concave samples that hand-held tools struggle with.
O-rings:
The cross-section of an O-ring is small and round, so a standard Shore A reading is unreliable. IRHD includes a micro method in ISO 48-2 that is designed for small and thin parts like these. Use it, for example with our digi test Easy IRHD M tester, or test a flat specimen made from the same compound.
Foam and sponge:
Standard Shore A and D scales are meant for solid materials. A cellular material compresses under the presser foot, and the reading says little about the material. Check whether a scale for very soft materials, such as Shore OO, or another method fits your standard.
Error 9: Dirt, wear, and a worn indenter
Wear changes the number. Dirt, nicks, or a worn indenter tip alter the contact area, and a weakening spring shifts the force. Dust or oil on the specimen or base adds scatter. Inspect and clean the indenter, the presser foot, and the specimen regularly, and verify the durometer on a reference block before critical work. If it drifts, have it serviced and recalibrated.
Our HP analog durometer reads to 0.5 Shore units, against the ±1.0 allowed by the standards, as long as it is held square to the specimen.
Metals: Two Errors Worth Knowing
Some readers test metals as well as rubber. Two errors show up often enough to include here. These rules follow ASTM E18 for Rockwell testing; always confirm exact values against the current edition of the standard.
Error 10: The load is too high for the case depth
If the indent pushes through the hardened layer into the softer core, the reading is a blend of both. The tester is working fine. The result is simply not the surface hardness. Even superficial scales can fail here if the case cannot contain the deformation around the indent. For case depths in the range of 0.010 to 0.015 inch (about 0.25 to 0.38 mm), a lower load or a microhardness traverse is the safer choice.
Error 11: The metal sample is too thin
For diamond indenters, thickness should be at least ten times the depth of the indent (ASTM E18 calls for fifteen times for ball indenters). Here is a worked example. A Rockwell C reading of 60 HRC corresponds to an indent about 0.08 mm deep (0.002 mm for each point below 100). Ten times that depth means the part should be at least 0.8 mm thick. A thinner part gives a reading that the anvil influences.
Operator and Data-Handling Errors

Error 12: Human slips
A reading of 32.3 becomes 33.2, and the hardness value changes with it. The same happens with the wrong scale, a missed correction, or a missed note about test conditions.
Three changes cut most of these slips:
- Train and certify everyone who tests, and re-check their technique regularly.
- Use digital or automated systems that measure and store the data for you.
- Write down the method, scale, reading time, temperature, and operator with every result.
Case Studies and Worked Examples
An illustrative rubber-seal dispute
A supplier and a buyer test the same seal lot and get different Shore A results. A short review finds three causes: one lab read at one second and the other at fifteen, one tested a thin stack of glued layers, and one lab was cold. Once both labs use the same reading time, a single 6 mm specimen, and conditioned samples, the numbers agree. No instrument was replaced.
An illustrative O-ring complaint
A customer measures finished O-rings with a hand-held Shore A durometer and reports values below specification. The rings are small and round, so the foot never sits flat. Testing a flat specimen from the same compound, or using the IRHD micro method in ISO 48-2, gives a result that matches the specification.
Low readings on a thin-case metal part
Consider a part with a 0.010 to 0.015 inch (about 0.25 to 0.38 mm) hardened case. A standard Rockwell test reads below specification, yet the tester checks out fine on its test block. The real cause is the indent passing through the case into the soft core. Switching to a low-load microhardness traverse (hardness versus depth) gives a true picture.
How to Avoid Hardness Testing Errors: A Two-Minute Checklist
Before every test:
- Is the tester within its calibration date, and does it pass a reference block?
- Are the method and scale right for the material and shape?
- Is the surface clean, flat, and representative?
- Is the specimen thick enough, 12 mm from edges, and 6 mm from other readings?
- Is the instrument square to the surface, ideally on a test stand?
- Are temperature and reading time set and recorded?
Before you recalibrate or reject a lot:
- Did every lab and operator use the same setup and reading time?
- Does the standard allow this method for this material?
- For metals, did the indent stay inside the layer you meant to measure?
How Bareiss Helps You Test With Confidence
We design our instruments to remove error at the source. Our HPE III digital durometer delivers high accuracy and repeatability for Shore testing. Bareiss digi test II automates Shore, IRHD, and VLRH testing with surface detection and an interchangeable probe system. Our Shore A and D durometers cover soft rubbers through rigid plastics.
Our calibration services are traceable to international standards, and we are glad to help you pick the right instrument. If you are still comparing options, our guide to choosing the best hardness tester explains each type.
Seeing results that do not add up? Talk to a Bareiss specialist about your material, scale, and test setup. Email us at info@bareiss-testing.com or request a quote for your durometer or hardness tester.
Frequently Asked Questions
The most common errors are overdue calibration, the wrong method or scale, specimens that are too thin, indents too near an edge, the wrong reading time, and operator slips. In many cases the machine is fine and the method is the problem.
We recommend annual calibration, with checks on reference blocks in between. Heavy use, strict standards, or audit requirements may call for a shorter interval.
Most often it comes down to different reading times, different pressure or angle, or a different specimen setup. Training and a written procedure close most of the gap. Automated measurement closes the rest.
Rubber relaxes under load, so the value creeps down over time. Read at the time your standard or customer specifies, and record it.
Under ASTM D2240, keep readings at least 12 mm from any edge and at least 6 mm apart from each other. Check the current edition of the standard for exact values.
A standard Shore A reading is unreliable on a small round cross-section. Use the IRHD micro method in ISO 48-2, or test a flat specimen made from the same compound.
Yes. Condition specimens at about 23 °C and 50% relative humidity before testing, and record the conditions with the result.